Showing posts with label placemats. Show all posts

Wednesday, 22 February 2012

Place mat tutorial

 The Valentine's Day place mats I mentioned last Wednesday are finally finished! I was not sure about the binding and in the end used the colour of the writing. The pink fabric is from Summersville available at Etsy


Finished! 
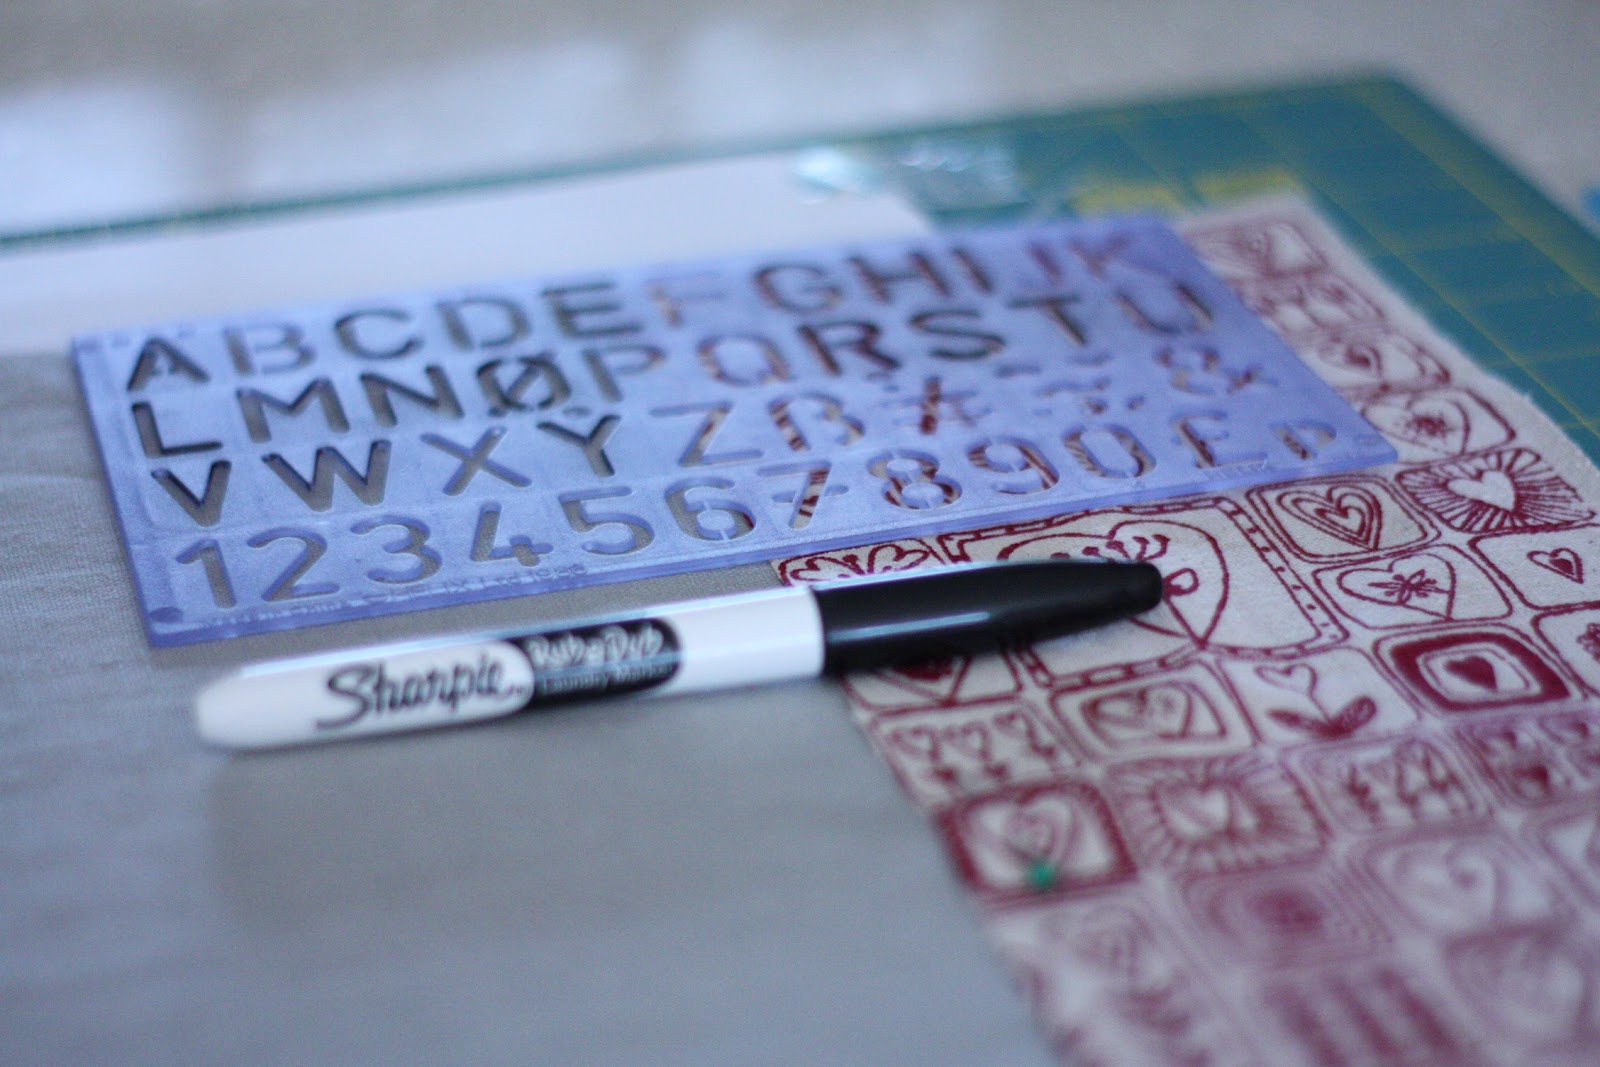
 So how did I write the quote on the linen fabric and followed the Wit and Whistle tutorial. Here is what you need: 

  • Linen fabric
  • Fabric Marker Pen (Sharpie pen)
  • Letter stencil


I would advise you to put pages underneath...


Here we are.. Simple really. Let me know if you are making one!


It is Wednesday... Just... SO I am linking up to WIP Wednesday at Freshly Pieced. Placemats are finished, yeah! I can move on to the next quilt - involving shirts and upcycling, more on this next week...


Wednesday, 15 February 2012

In progress and a real IT achievement (for me)! (Updated!)

It is Wednesday, and therefore it is W.I.P. Wednesday over at Freshly Pieced. 


What to report ... I made some progress with my two placemats for Valentine's Day (yes that would be for yesterday... or 14th Feb 2013 as the case may be now). Actually I saw it coming and I did not over do it on the hearts, so we may be able to use them before next year. 


The left hand side fabric is from Summersville on Etsy,
and right hand side one some linen fabric bought on Amazon


A tutorial to come on how I printed the quote on the linen fabric. Who can guess what it says? 


I can report NO progress on the shirt patchwork ... so there is no point to talk about it. 


I also need to make something out of these fabulous scraps I received from Indianna Dreams. As none of us really had some scraps, we decided to swap some fabric pieces. I was SO excited about it. She chose so well for me - look at all the grey and yellow. Need to put on my thinking cap now... 


Scraps
Winnowing is on its way, I am at that stage when I misjudged how much yarn I needed, and I am waiting, anxiously I may add, for that package. 


Winnowing waiting to be finished


FINALLY! I do have a button you can grab on the right-hand side bar... It took me AGES to get there... for something that is quite easy in the end... But everyone seems to have a different way to do it. (Sorry for those who came on this post before the updated version, it did not work, it should be fixed now and you can actually have your button...)


Anyway here are the steps I followed (a mix of different helpful blogger suggestions):


1. Choose your picture (I used my banner one... made sense right). I edited the picture with Picnik. 


2. I resized it to 125x 150 (should not be bigger than 150 to make sure it fits on other bloggers side bars)


3. Upload the picture to an online photo gallery service. I tried through Picasa, but my picture never appeared in the end (if someone managed to resolve that problem, please let me know). So I used Photobucket in the end - it is free and very fast. You get the HTML of your picture on the right hand-side.


4.Got to layout in blogger, to the design bar, and add an HTML gadget to the place you want your button to show. 


5. You can add a title ('Grab my button')


6. Copy the HTML Code you can find here


7. Paste the above HTML Code into the HTML gadget


8. Replace YOUR WEB ADDRESS by your blog address


9. Replace BLOG TITLE by a blog title of your choice (mine says Inspirations for Handmade)


10. Replace the IMAGE HTML ADDRESS by the HTML Code you found on Photobucket


11. Save it, test it and let me know how you got on!